Happy Monday gals! (I’m actually up Sunday night writing this since Monday I’ll be at a work dinner in New Jersey, ha). I’m SO excited for today’s post because it’s one ya’ll have been requesting.
Contouring has been a “thing” in the beauty industry and as time goes on more and more people are interested in learning how to do it. And for good reason: a beautiful contour can chisel your cheekbones, define your jawline and slim your nose (if you so desire).
At the same time contouring has a major aura about it- namely that it can be tricky and altogether easy to do wrong. To be honest, when I started contouring I surfaced looking like a clown…not even kidding! But as I watched and learned, I discovered that creating a beautiful contour is actually easy (and quick!) if you have the right products and implement a few easy techniques.
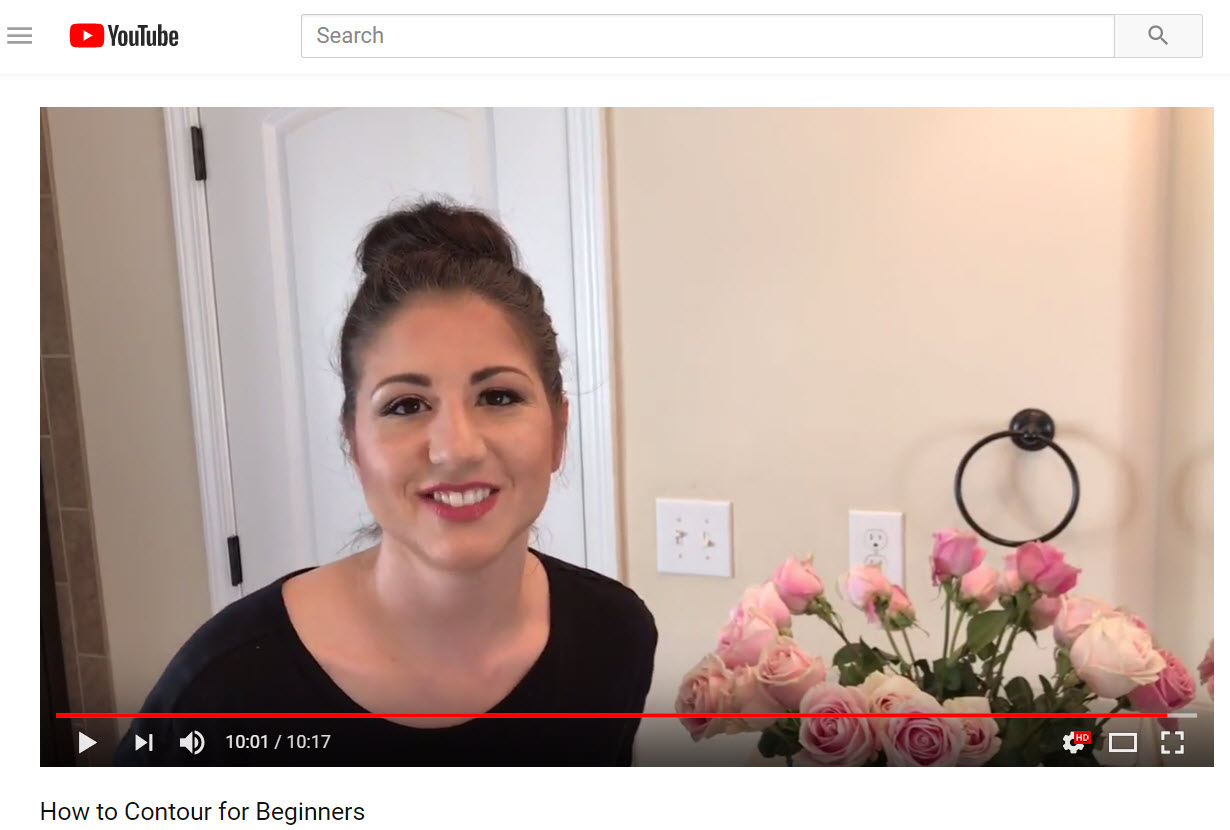
In this tutorial I’m breaking down the basic products you need, how to find your cheekbones, what shades go where and how to apply them for a flawless finish. Basically I included everything I wish someone had told me when I was first started my contouring journey. 🙂
Link to video here or you can click the image below:
Products used:
Contour palette: Urban Decay Shapeshifter contour palette
Second palette + blush: It Cosmetics Complexion Perfection palette
Bronzer: Hoola bronzer by Benefit
Luminizing drops: Sephora Radiant Luminizing Drops in color 03- champagne
Brushes: It Cosmetics Your Airbrush Masters Kit
I linked all the products I used in the description box below my video on YouTube as well. If you have any additional questions on contouring, feel free to hit me up. Hope you have a great night and can’t wait to see you again soon! <3
Love always,
Terra

